
Fiber optic connectors play a critical role in the successful transmission of optical signals in fiber optic networks. These connectors provide a means to join fiber optic cables, enabling the efficient transfer of data across long distances with minimal loss or disruption. In this tutorial, we will provide an overview of fiber optic connectors, their types, and the steps involved in installing and removing them.
Introduction to Fiber Optic Connectors:
Fiber optic connectors are devices designed to connect and align the ends of fiber optic cables to establish a seamless optical connection. They ensure proper light transmission by minimizing signal loss and maintaining the alignment of the fiber cores. Some key characteristics of fiber optic connectors include:
a. Connector Types: Fiber optic connectors come in various types, each with its own design and functionality. Common connector types include SC, LC, ST, FC, and MPO/MTP.
b. Connector Components: A fiber optic connector typically consists of a ferrule, connector body, coupling mechanism, and housing. The ferrule is a cylindrical component that holds the fiber and aligns it precisely with the mating connector.
c. Connector Polishing: The ferrule's end face, where the fiber is exposed, is polished to ensure optimal light transmission. Common polishing types include PC (Physical Contact), UPC (Ultra Physical Contact), and APC (Angled Physical Contact).
Types of Fiber Optic Connectors:
There are several types of fiber optic connectors, each with its own advantages and applications. Here are some commonly used connector types:
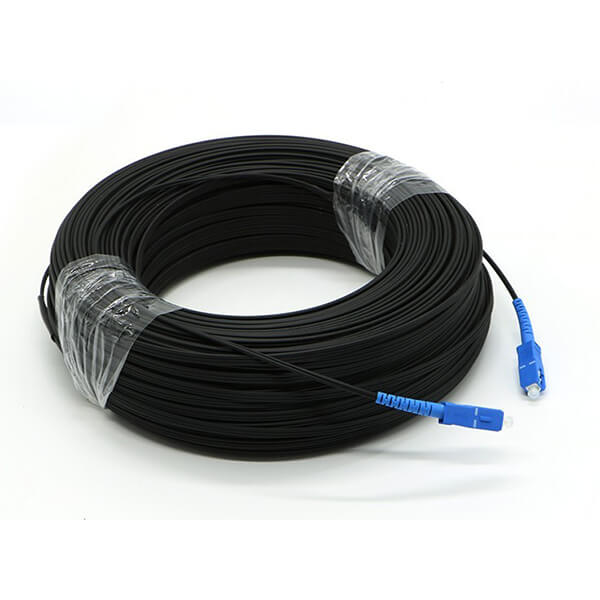
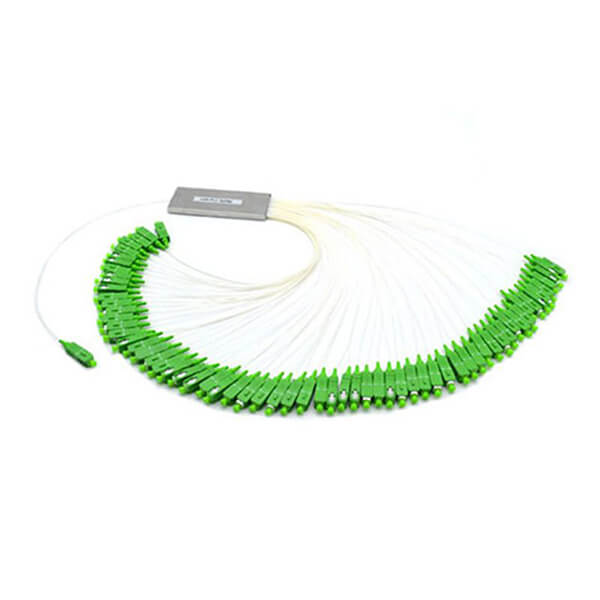
a. SC (Subscriber Connector): SC connectors feature a square-shaped connector body with a push-pull latching mechanism. They are widely used in data communications and telecommunication networks.
b. LC (Lucent Connector): LC connectors are small form-factor connectors with a latch mechanism similar to RJ-45 connectors. They are popular in high-density environments and provide excellent performance.
c. ST (Straight Tip): ST connectors have a round connector body with a bayonet-style twist-lock mechanism. They are commonly used in older networks and are known for their robustness.
d. FC (Ferrule Connector): FC connectors feature a screw-on coupling mechanism and a round, metal connector body. They are widely used in high-power applications and laboratory settings.
e. MPO/MTP: MPO/MTP connectors are multi-fiber connectors that allow for the simultaneous connection of multiple fibers. They are used in high-density applications, such as data centers and backbone networks.
Installing Fiber Optic Connectors:
Installing fiber optic connectors requires precision and attention to detail. Here are the general steps involved:
a. Prepare the Fiber Cable: Strip the protective coating from the end of the fiber cable, exposing the fiber(s) to be terminated. Follow the manufacturer's guidelines to ensure the correct length and cleanliness of the fiber.
b. Prepare the Connector: Remove the dust cap from the connector and inspect the ferrule for any dirt or damage. Clean the ferrule if necessary using lint-free wipes and approved cleaning solutions.
c. Cleave the Fiber: Use a fiber cleaver to create a clean and perpendicular end face on the fiber. Follow the cleaver's instructions and ensure proper cleave angle and length.
d. Insert the Fiber: Carefully insert the prepared fiber into the connector's ferrule, ensuring it aligns correctly with the connector's alignment key. Apply gentle pressure to seat the fiber fully.
e. Epoxy or Crimp: Depending on the connector type, apply epoxy adhesive to bond the fiber to the connector or use crimping techniques to secure the fiber in place. Follow the specific instructions for the connector type being used.
f. Polish the Connector: If necessary, polish the connector's end face using appropriate polishing techniques and materials. This step ensures optimal light transmission and minimizes signal loss.
g. Inspect the Connector: Use a fiber optic inspection scope to visually inspect the connector's end face for any defects, dirt, or scratches. Ensure the connector meets the required standards and specifications.
h. Repeat the Process: Repeat the installation process for the opposite end of the fiber, maintaining proper alignment and cleanliness throughout.
Removing Fiber Optic Connectors:
Removing fiber optic connectors requires caution to avoid damage to the fiber or the connector itself. Here are the general steps involved:
a. Prepare the Removal Tools: Gather the necessary tools, such as a connector removal tool or a precision screwdriver, depending on the connector type.
b. Release the Connector: If the connector has a latch or coupling mechanism, release it by following the specific instructions for that connector type. This may involve pressing a latch, unscrewing a connector body, or using a specialized removal tool.
c. Disconnect the Connector: Once the latch is released, gently pull the connector straight out from the mating adapter or receptacle. Avoid applying excessive force or twisting motion that may damage the connector or fiber.
d. Inspect the Connector: After removing the connector, inspect the end face for any signs of damage or contamination. Clean the end face if necessary using approved cleaning methods and materials.
e. Reinstall or Dispose: Depending on the situation, you can reinstall the connector if it is in good condition and reuse it. Alternatively, if the connector is damaged or worn out, dispose of it properly and replace it with a new connector.
Maintenance and Best Practices:
To ensure optimal performance and longevity of fiber optic connectors, consider the following maintenance and best practices:
a. Keep Connectors Clean: Regularly inspect and clean the connectors to remove any dirt, dust, or contaminants. Use lint-free wipes and approved cleaning solutions, following the manufacturer's recommendations.
b. Protect Connectors: When not in use, keep the connectors covered with dust caps to prevent dirt or damage. Avoid touching the end face or exposing it to unnecessary risks.
c. Proper Storage: Store connectors in a clean and dry environment to avoid exposure to moisture or extreme temperatures.
d. Use Professional Tools: Use appropriate fiber optic termination and inspection tools to ensure accurate and reliable connector installation and maintenance.
e. Follow Manufacturer Guidelines: Always refer to the manufacturer's documentation and guidelines for specific instructions on connector installation, cleaning, and maintenance.
By following these steps and best practices, you can ensure the proper installation, maintenance, and removal of fiber optic connectors. Remember to consult the manufacturer's documentation for specific instructions and guidelines for the connectors you are working with.