As we all know, optical fiber access has become a hot spot in the field of optical communication, and at this time, it is necessary to mention the optical fiber cable. The construction of the leather cable is something that many friends are not sure about. Now let's talk about how to construct the leather cable.
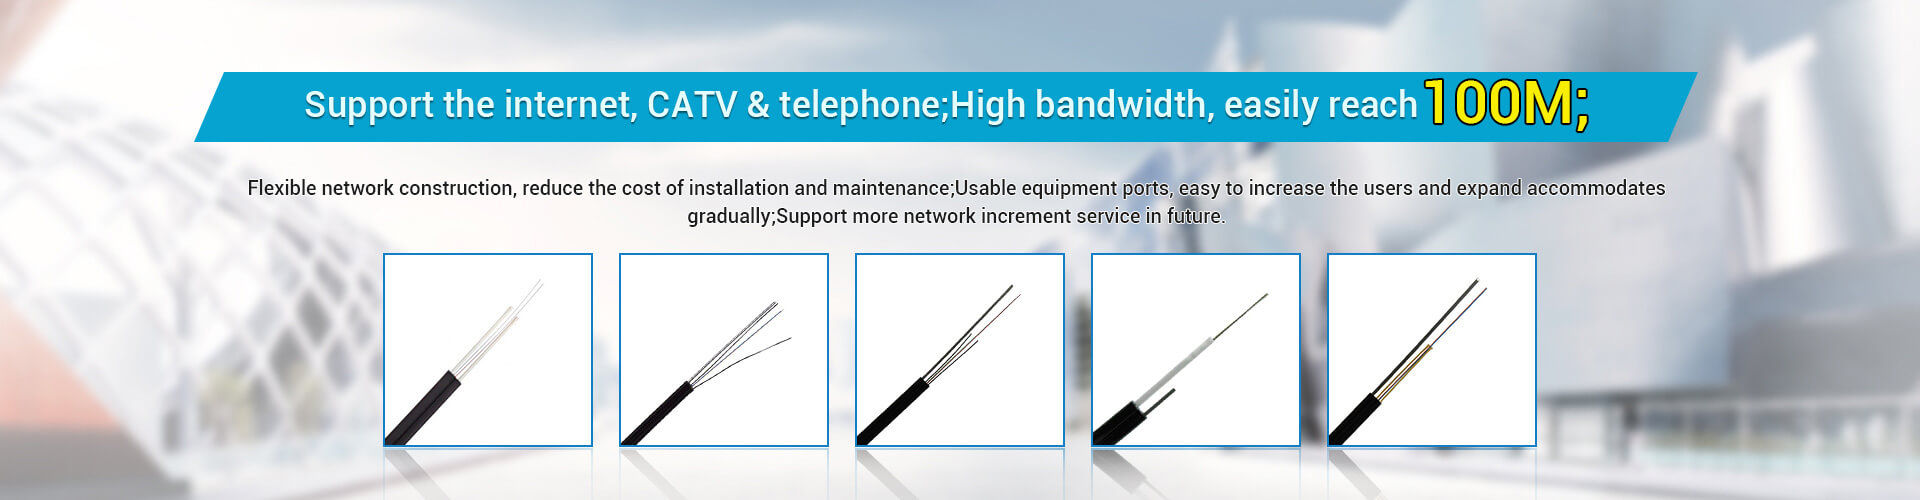
Leather cable
How to construct the leather cable 1. Overhead support cabling
1. Determine the laying route of the leather cable, and investigate whether there are available supports for the laid outdoor cable. Generally, each support can fix 8 outdoor cables.
2. Select the support and its installation position according to the principles of firm installation, even spacing and maintenance.
3. Use the tight hoop steel belt and the tight hoop clip to fix the tight hoop retractor on the pole; use expansion screws and screws to fix the C-type retractor on the outer wall, and directly fix the ring hook on the wooden outer wall.

4. Separate the hanging wire of the outdoor leather cable, and tie the hanging wire to the S fixture, and then hang it on the support. When the length of the leather cable to be laid exceeds 100 meters, it is advisable to start from the middle point. put.
5. Use a longitudinal wrap to wrap the extra length of the outer leather cable where the suspension wire of the outdoor leather cable and the S fixing piece are bound.
6. The intersection of outdoor leather cable and other cables should be wrapped and protected with winding tube.
7. During the whole cabling process, it is strictly forbidden to step on or jam the outdoor leather cable. If the outdoor leather cable is found to be damaged, it is necessary to consider re-laying.
How to construct the leather cable
1. Choose the route of nailing the leather cable. Generally, the leather cable should be nailed to the wall that is hidden and difficult to reach.
2. The staple buckle should be used for nailing the leather cable indoors; the screw buckle should be used for nailing the outdoor leather cable outdoors.
3. At the same time as the installation of the nails, the leather cable can be fixed in the nails. Since the clips and screw buckles are fixed by clamping the outer sheath of the leather cable, attention should be paid to one side during construction. Visual inspection, while fixing the optical fiber cable, it must be ensured that the optical fiber cable is not twisted, and the nails are not squeezed on the optical fiber cable.
4. At the corner of the wall, the leather cable should have a certain arc, so as to ensure the bending radius of the cable, and protect it with a sleeve. It is strictly forbidden to turn the leather cable against the wall at a right angle.
5. When using the method of nailing the cable, special attention should be paid to the bending, twisting, twisting and damage of the leather cable.
6. After the cable is laid, it is necessary to visually check the cable throughout the process to ensure that there is no external force on the cable.
7. When the sheathed optical cable is laid along the exterior wall of the building or outdoors by nailing, the steel strand of the sheathed optical cable should be properly tightened to withstand the tensile force, and the tensile force should not exceed the rated tensile force of the sheathed optical cable. , and fix the steel strand firmly as required.
How to construct the leather cable 3. Cable trough wiring
1. Select the routing of the trunking. In order not to affect the appearance, the leather cable should be routed along the skirting line, door frame, etc. as much as possible, and choose a route with fewer corners and a flat and smooth wall (double-sided tape can be used to fix the wire groove).
2. Select the wire slot installation method (double-sided adhesive sticking method or screw fixing method).
3. When using the double-sided adhesive sticking method, use a cloth to wipe the wall on the route of the wiring trough, so that there is no dust and garbage on the wall, then stick the double-sided tape on the wiring trough and its accessories, and paste it. Fixed on the wall.
4. When using the screw fixing method, the wire duct and its accessories should be fixed on the wall according to the screw fixing position marked on the wire duct and its accessories. Generally, a 1-meter straight groove needs to be fixed with 3 screws.
5. Combine the trunking and its accessories according to the actual situation on site. When cutting the straight groove, since the trunking cover and the bottom groove are paired, it is generally not suitable to deal with the trunking cover and the bottom groove separately.
6. Put the fiber optic cable into the wire slot, and be careful not to clamp the fiber optic cable to the bottom slot when closing the cover of the wire slot.
7. After confirming that the wire slot cover is tight, wipe off the dirt left by the operation with a cloth.
How to construct the leather cable
1. According to the installation position of the equipment (optical splitter, ONU) and the actual layout of the indoor dark pipe and indoor pipe, find and determine the specific location of the household pipe hole.
2. First try to put the optical fiber cable directly into the dark pipe, if it can pass through, that is the end of the cable threading work, go to step 8.
3. When the cable cannot be threaded directly, a pipe runner should be used. If the pipe piercer has a large resistance during the threading and releasing process, you can pour an appropriate amount of lubricant into the pipe hole or apply lubricant directly on the pipe piercer, and try to insert the pipe piercer into the pipe hole again. , go to step 6.
4. If one end of the pipe piercer cannot be penetrated, it can be pierced from the other end again. If it is still unsuccessful, mark the pipe piercer, pull out the traction line, confirm the blockage position, and move to the The user reports the situation and re-determines the cable mode.
5. When the pipe threader passes through the pipe hole smoothly, connect one end of the threader with the optical fiber cable to make a qualified pull end of the optical cable (the end of the traction wire of the pipe threader and the end of the optical cable are intertwined with each other. 20cm, and wrap it with insulating tape, but don’t wrap it too thickly). If other cables are laid in the same pipe hole, lubricant should be used to prevent damage to other cables.
6. The cooperation when pulling the leather cable into the pipe is very important. It should be carried out by two people. Both parties must communicate with each other, such as the signal of the start of pulling, the mutual password when pulling, the speed of pulling and the speed of the cable. status, etc. Since the operator at the pulling end cannot see the operator at the releasing end, it is not possible to forcefully pull the cable.
7. After pulling the sheathed optical cable out of the pipe hole, you should confirm whether there is any depression or damage on the lead-out section of the sheathed optical cable with your hands and eyes. If there is damage, give up the construction method of passing the pipe.
8. Confirm the length of the leather cable and cut the cable. Be careful not to cut it too short, you must reserve the length for making the optical fiber mechanical splicing connector.
How to construct the leather cable 5. Corrugated pipe cabling
1. Choose the bellows layout route. The bellows should be installed in places that cannot be touched by human hands as much as possible, and should not be installed in a position that is detrimental to the appearance. Generally, bellows with an outer diameter of not less than 25mm should be used.
2. Determine the installation position of the passing box, and set the passing box at the entrance of the residential unit and the intersection of the horizontal and vertical pipes; when the straight section of the horizontal corrugated pipe is more than 30m long or the section length is more than 15m and there are more than 2 90° When corners are bent, a pass-through box should be provided.
3. Install the pipe clamp and fix the corrugated pipe. At the corner of the route or the unevenness of the building, the corrugated pipe should be installed and fixed after maintaining a certain arc to ensure the bending radius of the leather cable and facilitate the passage of the cable.
4. Thread the sheathed optical fiber cable in the corrugated pipe (the pipe threader can be used when threading the sheathed optical fiber cable in the corrugated pipe with a long distance).
5. When passing through two straight passing boxes continuously or turning through the passing boxes, and pulling the optical fiber cable at the entry point, the optical fiber cable should be pulled out of the passing box before passing through.
6. There is no need to leave extra length for the leather cable in the passing box, as long as the bending radius of the leather cable is satisfied. After the leather cable is passed through, it should be confirmed that the leather cable in the passing box is not squeezed, and special attention should be paid to the leather cable passing through the corner of the passing box.
7. Close the cover of each pass box.
How to construct the leather cable 6. The wall opening and the leather cable
1. Determine the location where it crosses the wall according to the laying route of the home leather cable. Generally, it is advisable to use the existing weak current wall holes to pass through the optical fiber cables. For buildings without existing wall holes, try to choose to open the wall holes in a hidden and unobstructed position.
2. Determine the number of leather cables to be put through (according to the number of households), and select the size of the opening in the wall. Generally, a hole with a diameter of 10mm can wear two leather cables.
3. Select the drilling tool (electric drill or impact drill) and the specifications of the drill bit according to the material and size of the opening in the wall.
4. In order to prevent the inflow of rainwater, drilling should be carried out from the inner wall to the outer wall and inclined at 10°.
5. After the wall is opened, in order to ensure the beauty of the drilled hole, the inner wall should be sleeved with a wall casing in the wall hole or a wall decorative cover should be installed at the wall hole.
6. If the opening of the wall is larger than expected, it can be repaired with cement, and the appearance of the opening should be as good as possible.
7. Pass the optical fiber cable through the hole, and wrap the optical fiber cable passing through the wall hole with a winding tube to prevent the optical fiber cable from cracking.
8. After the leather cable passes through the wall hole, the outer wall should be blocked with fillers such as plugging mud and silica gel to prevent rainwater from infiltrating or insects from crawling in.
9. There should be a certain arc at both ends of the leather cable passing through the wall to ensure the bending radius of the leather cable.
The above is the whole content of how to construct the leather cable. In fact, the bending performance and tensile performance of conventional indoor optical cables can no longer meet the needs of FTTH (fiber-to-the-home) indoor wiring. In the era of networked security, the demand for leather cable is higher.